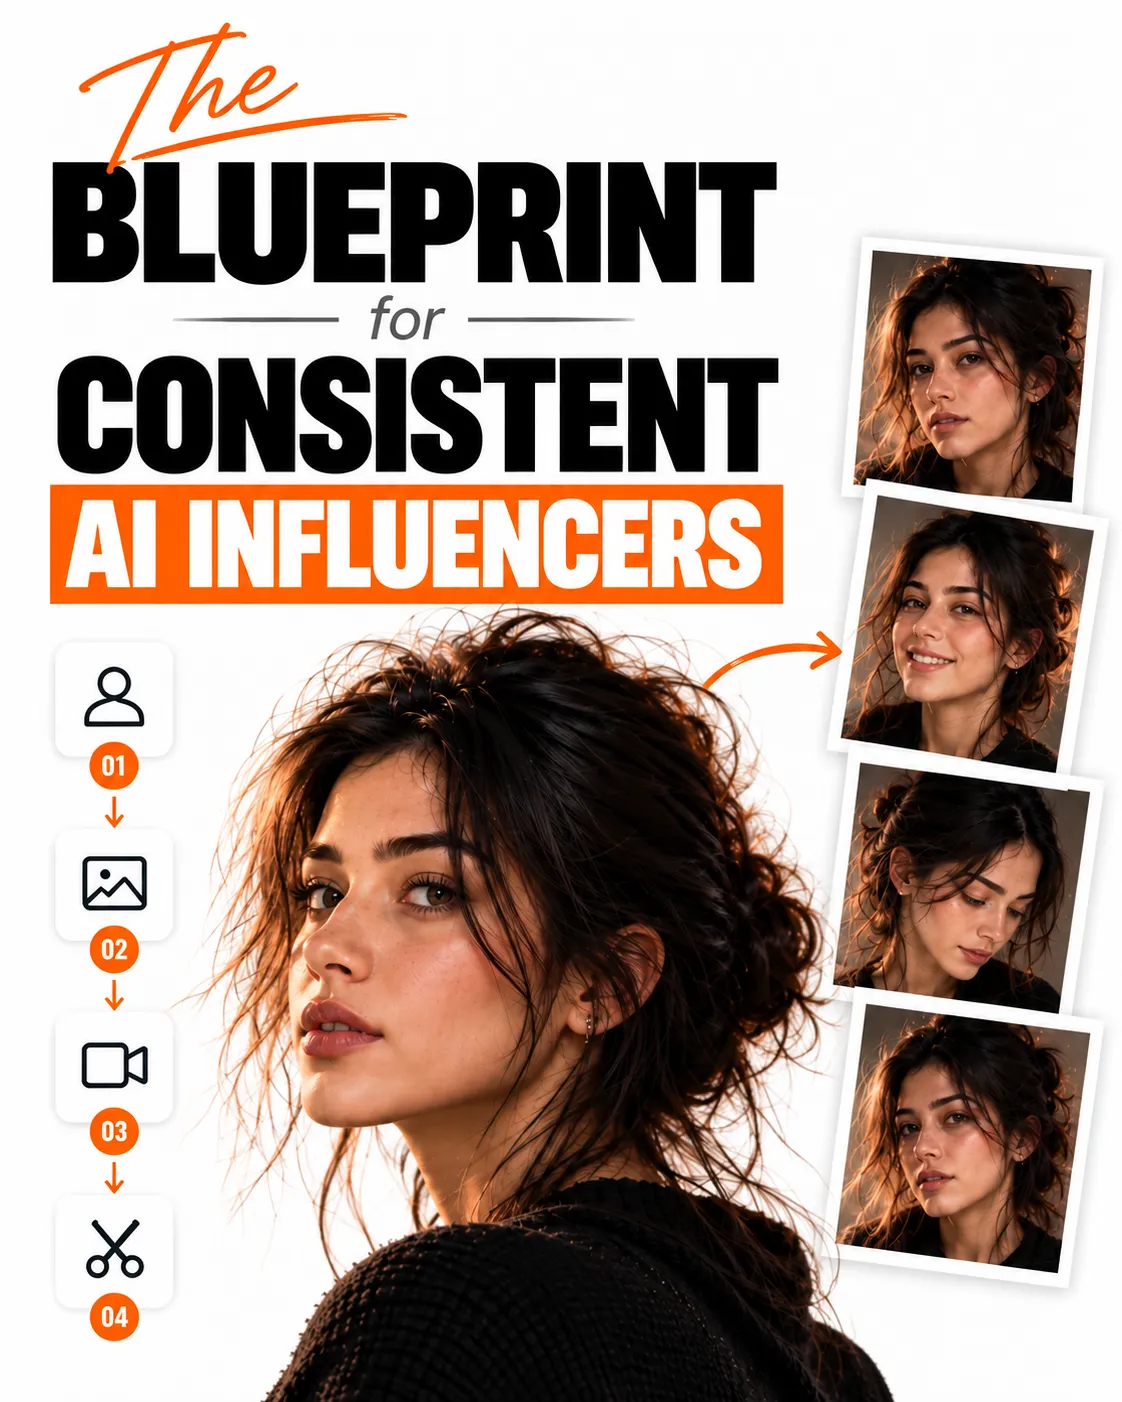
AI FILMAKING: The Complete Guide to Cinematic AI Realism
A comprehensive framework for crossing the uncanny valley in AI video generation. This guide covers how to anchor videos with flawless reference images, use timeline prompting to control camera physics, introduce human imperfections, and synthesize the final clips through post-production editing.
A Unified Framework for Cinematic AI Realism :
The Complete, Jargon-Free Guide to Cinematic AI Realism
The Core Concept: AI realism is not achieved by letting the algorithm generate its ideal, flawless output. Realism is achieved by forcing the AI to replicate the physical constraints, messy flaws, and specific techniques of human filmmaking. To cross the "uncanny valley" (where things look creepy because they are too perfect), you must stop typing simple prompts and start acting like a film director. Here is the full framework.
Pillar 1: The Photographic Anchor (99% Image, 1% Video)
AI video generators are essentially just animating a still photograph. If your starting image lacks depth or looks like plastic, your video will too. You must anchor the video with a perfect still image.
Engineer the Baseline: Before using any video tools, generate a still image using traditional photography rules. Ask for specific lighting (e.g., "warm lamp lighting from the left") and composition (e.g., "subject placed on the left third of the frame").
Lock Down Character Consistency: For cinematic characters, generate about 20 different photos of the same face from different angles (close-ups, side profiles, full body) to train a custom character ID. For vlogging or AI clones, use a high-resolution, unedited selfie from your phone rather than an AIgenerated image to retain natural skin texture.
Reverse Engineer Your Prompts: If you struggle to describe a cinematic style, find a high-end reference photo (like a movie still on Pinterest). Feed that image into an AI image generator and ask it to describe it. Copy the highly detailed prompt it spits out and use it as your own.
Pillar 2: Micro-Directing (Timeline Prompting)
Do not ask the AI to simply "make a video." You must micro-manage the scene by writing a prompt that acts as a timeline, giving the AI explicit stage directions for the camera and the actor.
Dictate the Camera's Physics: Tell the AI exactly how a human would hold the camera. Instead of saying "move in," use physical descriptions like "a shaky, handheld camera tracking the subject," a "slow, deliberate zoom," or "shifting focus from the background to the foreground."
Stage Multi-Part Emotions: Human emotion reacts to the environment; it doesn't just sit statically. Prompt for a sequence of events. Example: "The actor starts serious -> they notice a distraction offcamera -> their jaw clenches trying to hold composure -> they break into genuine laughter."
Force Physical Micro-Movements: For AI avatars to look real, they need the awkward habits of real people. Prompt the character to "look away mid-sentence," "shift their weight," or "take a micropause." This breaks the robotic, unblinking stare.
Pillar 3: The Imperfection Engine (Breaking the Plastic Look)
The AI defaults to perfect symmetry and frictionless motion. You must actively inject "ugly" reality back into the generation.
Demand Visual Flaws: Explicitly prompt for imperfections. Ask for asymmetrical facial features, bags under the eyes, messy hair, skin pores, and ruined or dirty clothing.
Create Environmental Friction: Make the world messy and chaotic. Introduce background clutter and specific lighting interactions, such as "neon signs reflecting harshly off a wet, rain-slicked street."
Use Flawed, Real Audio: Do not use perfectly clean, robotic text-to-speech. Record raw audio of your own voice, complete with natural breaths, minor stutters, and the subtle hum of the room you are in. When the AI is forced to sync mouth movements to slightly messy human audio, it looks far more authentic.
Pillar 4: Post-Production Synthesis (AI is Only the Camera)
The raw video file the AI gives you is rarely the finished product. The illusion of reality is cemented in how you edit those clips together.
Use the Asset Loop: If an AI video fails halfway through, don't just hit regenerate and hope for the best. Take a screenshot of the one good frame from that bad video, feed that screenshot back into the AI as your new starting image, and continue generating from there.
Stitch Clips Seamlessly: You can blend two completely different video clips together by prompting a "trigger action." For example, have a character fall into water in clip A, and use the splash to seamlessly transition into clip B.
Apply Traditional Editing: Take the AI clips into editing software (like Premiere or CapCut). Manually trim out the slow, unnatural AI movements. Add a layer of fake film grain, apply cinematic black bars to the top and bottom, and manually sync background sound effects (like footsteps or a door slamming) to ground the visual in reality.
The Ultimate Takeaway
The most realistic AI videos are created when you give the AI the least amount of creative freedom. By locking the AI into rigid physical rules, demanding real-world camera behaviors, and forcing it to replicate human flaws, the technology stops looking like a computer and starts looking like reality
Comments
Log in to leave a comment.